Question:
What’s the best way to remove fireproofing
from beams and columns in order to attach the
top track for steel framing?
—F.E., New Hampshire
Answer:
Ideally, spray-applied fire-resistive material, or
SFRM, is applied after hangers, clips, top-track
Quesiton:
for steel framing, and other objects are attached
to the structural member. The Guide Specification section on
the technical data sheets in Isolatek’s product manual states in
Part 3 – Execution: “Clips, hangers, supports, sleeves and other
attachments to the substrate are to be placed by others prior
to the application of spray-applied fire-resistive materials.”
Answer:
I happen to know a few fireproofing contractors, so I ran this
question by one of them for more a “real world” approach
having written my share of technical data sheets, I am aware
that the author may be somewhat removed from the actual
hands-on part of the job. The fireproofing contractor explained
that the preferred method is for the steel framing contractor to
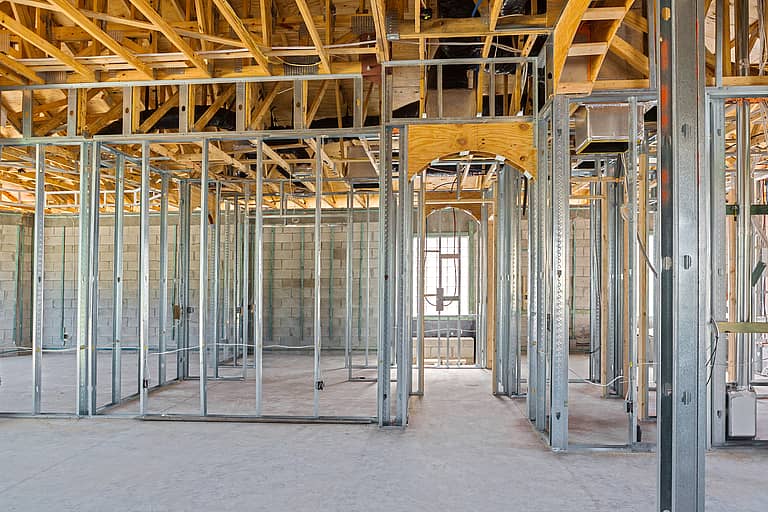
attach “Z” clips before the application of the SFRM. The top
track of the steel framing is attached with minimal scraping of
and damage to the SFRM.
The second choice is for the top-track to be installed to the structural
member prior to the spraying. However, before the track
is installed, the legs are sprayed with a non-stick cooking oil or
silicon lubricant that facilitates removal of the SFRM where necessary
to attach board, studs and other materials. (This should
be done prior to attaching to the structural member to prevent
adhesion failure of the SFRM to that member, thus resulting in
a “thermal short.”)
This brings us to the final option, though not one I would volunteer
for. The contractor recommended using a utility knife
to score the dried SFRM along the edges where the top track is
intended to go, and then scraping the SFRM away from the
surface. Once the framing is installed, then the top track must
be recoated (probably by hand) with the SFRM. Keep in mind
that the bond strength of some of these materials has been tested
to be somewhere between 100 and 1,000 pounds per square
foot, so bring plenty of elbow grease.
Question:
Is there a standard rule about sanding between
coats of paint, or painting procedures stating
how one should prime the walls, lightly sand
then apply first coat, etc.? —D.C., via e-mail
Answer:
That is going to vary from product to product.
Generally, most paints have an “open time,”
during which one can re-coat without sanding;
however, as the gloss level goes up, the narrower that window
becomes. One of the problems is that latex enamels should be
sanded between coats, but are easily damaged if sanded too early.
The paint needs to harden sufficiently before it can be sanded,
but most jobs do not have enough time in the schedule to
allow for such drying time. Any re-coating should be done once
the paint has bonded to the substrate so that it doesn’t come off
with the application of another coat. This can prove to be quite
a challenge with latex products, because they cure from the outside
in; by the time the paint has properly bonded, the surface
is very likely to be hard enough to require sanding.
But there is so much chemistry involved, not to mention drying
conditions, that one can’t make a blanket statement like
“allow 48 hours drying time, scuff sand with 150 grit, remove
dust, and recoat”—although that’s about as close as you’re likely
to get on such an instruction.
When in doubt, consult the product label or the technical data
sheet for recoat instructions.
About the Author
Lee G. Jones is AWCI’s director of technical services. Send your
questions to him in care of AWCI’s Construction Dimensions,
or send your e-mail question to [email protected]


